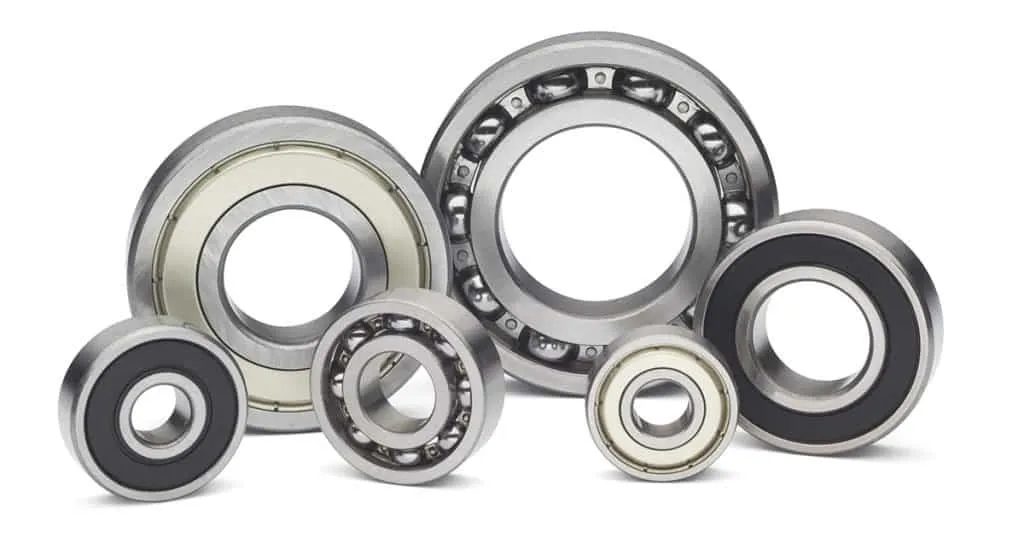
After the deep groove ball bearing is installed in the main engine, there is a measurement index called cyclic rotation accuracy. The number of revolutions required for this change to appear approximately repeatedly represents the "quasi-period" of the cyclic rotation accuracy, and the magnitude of the magnitude change within the quasi-period is large, that is, the cyclic rotation accuracy is poor. When a proper preload is applied to the main shaft of the deep groove ball bearing, this can gradually increase the speed to close to the working speed, so as to implement the "run-in" effect of the bearing, which can improve the cyclic rotation accuracy of the main shaft.
There is a precision instrument for improving the precision of the deep groove ball bearing. When the main shaft uses 6202/P2 type bearings, but its accuracy still cannot meet the requirements, the journal is thickened and a raceway is made on it to replace the inner ring, and the steel balls are precisely measured, and the size is divided into groups of three. , each group of steel balls is separated by an interval of nearly 120°. Due to the reduction of a heavy machining surface and a reduction of a heavy mating surface, the rigidity of the shaft-bearing system is improved, and the maximum and minimum three steel balls are close to each other. The equidistant distribution improves the rotation accuracy of the shaft, thus meeting the accuracy requirements of the instrument.
The comprehensive calibration method of the installation accuracy of the deep groove ball bearing is now introduced in detail. The first step is to install the angular contact ball bearing into the main shaft of the deep groove ball bearing. The calibration of the installation accuracy must go through the following four steps:

The first is to measure the size of the shaft and housing bore to determine the fit accuracy of the bearing. The inner ring and the shaft adopt an interference fit, and the outer ring and the bearing seat hole adopt a clearance fit.
Secondly, the installation of the front bearing at the fixed end on the shaft: Thoroughly clean the bearing with clean cleaning kerosene, and then use an oil gun to fill the bearing with a quantitative amount of grease; heat the bearing to raise the temperature to 20-30 °C, and use a hydraulic press to compress the bearing. Install the shaft end; press the adapter sleeve on the shaft and press it against the bearing end face with suitable pressure to make it axially position; roll the belt of the spring balance on the outer ring of the bearing, and verify the specified starting torque by measuring the starting torque. Whether there is a large change in the preload.
Once again, put the deep groove ball bearing-shaft assembly into the seat hole: heat the seat hole to raise the temperature by 20-30°C, and use continuous gentle pressure to install the bearing-shaft assembly into the seat hole; adjust the front cover to make the bearing seat The outer end face is used as the reference, the head of the dial indicator is against the surface of the journal, the shaft is rotated to measure its runout, the dial indicator is positioned on the shaft, the head is against the inner surface of the rear seat hole, and the shaft is rotated to measure the bearing The coaxiality of the front and rear seat holes of the seat.
Finally, the free end bearing is selectively placed at a position where the deviation may be offset, and is installed at the rear support position of the bearing seat to offset the mutual roundness deviation and coaxiality deviation as much as possible. Measure the actual fit accuracy of deep groove ball bearings when they are installed. At this time, professional measurement methods and measuring tools must be used to carry out actual precise measurement of the mating surface dimensions of the inner hole and outer circle of the bearing, and all measurement items related to the inner diameter and outer diameter must be measured, and the measured data shall be made. A comprehensive analysis of. Based on this, the dimensions of the bearing mounting portion of the shaft and housing hole are precisely matched.
When actually measuring the corresponding size and geometry of the shaft and seat hole, it should be carried out under the same temperature conditions as when measuring the bearing. In order to ensure a high actual matching effect, the surface roughness of the shaft and the seat hole and the bearing should be as small as possible.
When measuring, two sets of marks that can indicate the direction of the maximum deviation should be made on the outer circle and inner hole of the bearing, as well as the corresponding surfaces of the shaft and the seat hole, on both sides near the assembly chamfer, so as to facilitate the actual assembly. When , the maximum deviation of the matching two parties is aligned with the same orientation, so that after assembly, the deviation of the two parties can be partially offset. When the compensation of the deviation is comprehensively considered, the rotation accuracy of the supports at both ends is improved, and the coaxiality error of the seat hole between the two supports and the journals at both ends is partially eliminated.
What is the transmission principle of the fog cannon machine?
2022-10-31Detailed explanation of the assembly method of thrust angular contact ball bearings
2022-10-31How to Improve the Installation Accuracy of Deep Groove Ball Bearings
2022-10-31What are the advantages of ceramic bearings
2022-10-31Phone/What’sapp:+8615037950072 (Mr.Michael.T.Fan)
What’sapp:+8618336763205 (Ms.Kathy Zhang)
E-mail: leh_xuan021@lylehxuan.com
E-mail: kathy_zhang@lylehxuan.com
Address:No.54,Group 4,Zhonggang Village,Anle Town,Luolong District, Luoyang City,Henan Province,China.